Week 14
Interface and Application programming
Fab Academy 2024
Riichiro Yamamoto
Dear My Friend
This week I was introduced to Interface and Application Programming. It is basically building the user interface for input and output. I found it very interesting especially using graphic interfaces to have different outputs. I would definitely like to investigate more, however, for this week, I kept things simple and quick because I wanted to develop more on my final project.
Hope you enjoy
Riichiro Yamamoto
Group Assignment
this week's group assignment was to compare as many tool options as possible.
Here is the link to the group assignment page

Processing
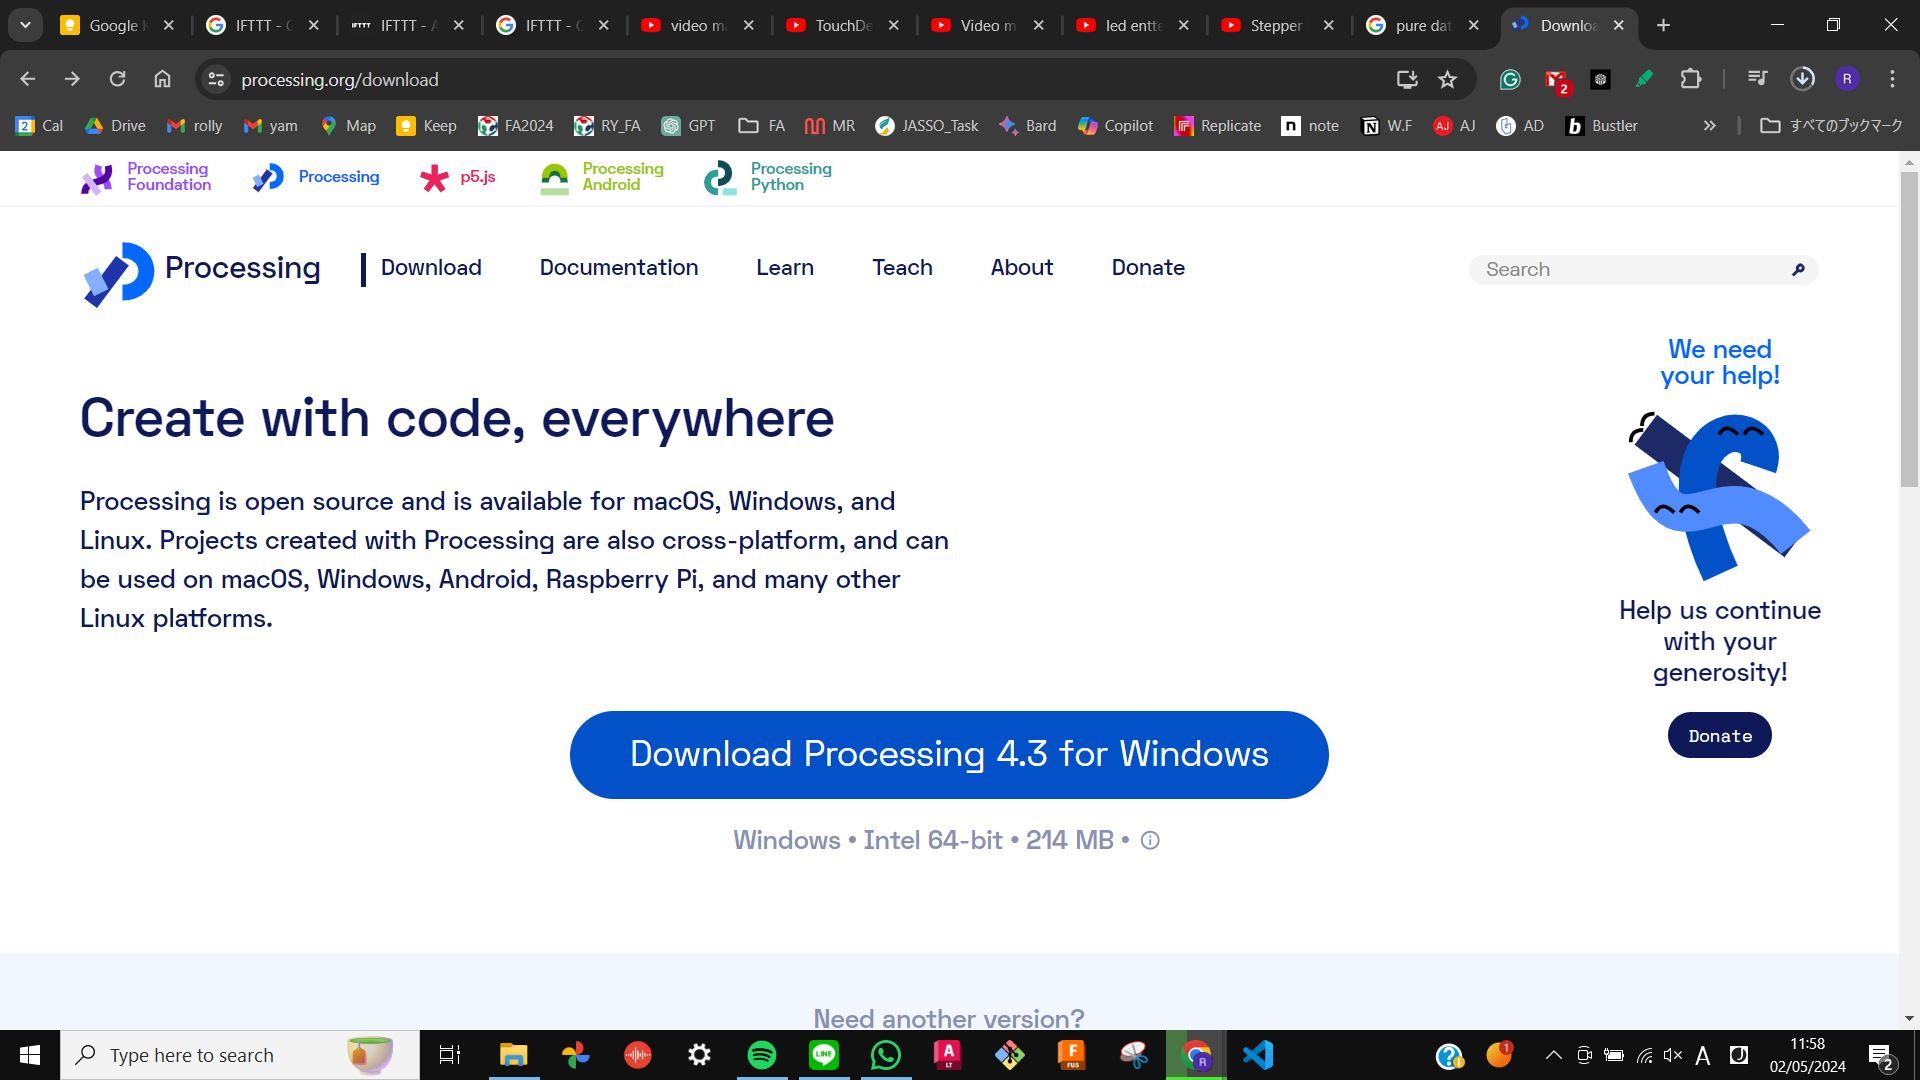
Processing is software for programming interfaces and applications. It was recommended by Fab Academy when you programme with Arduino IDE.
I decided to go with the simplest such as serial communication.
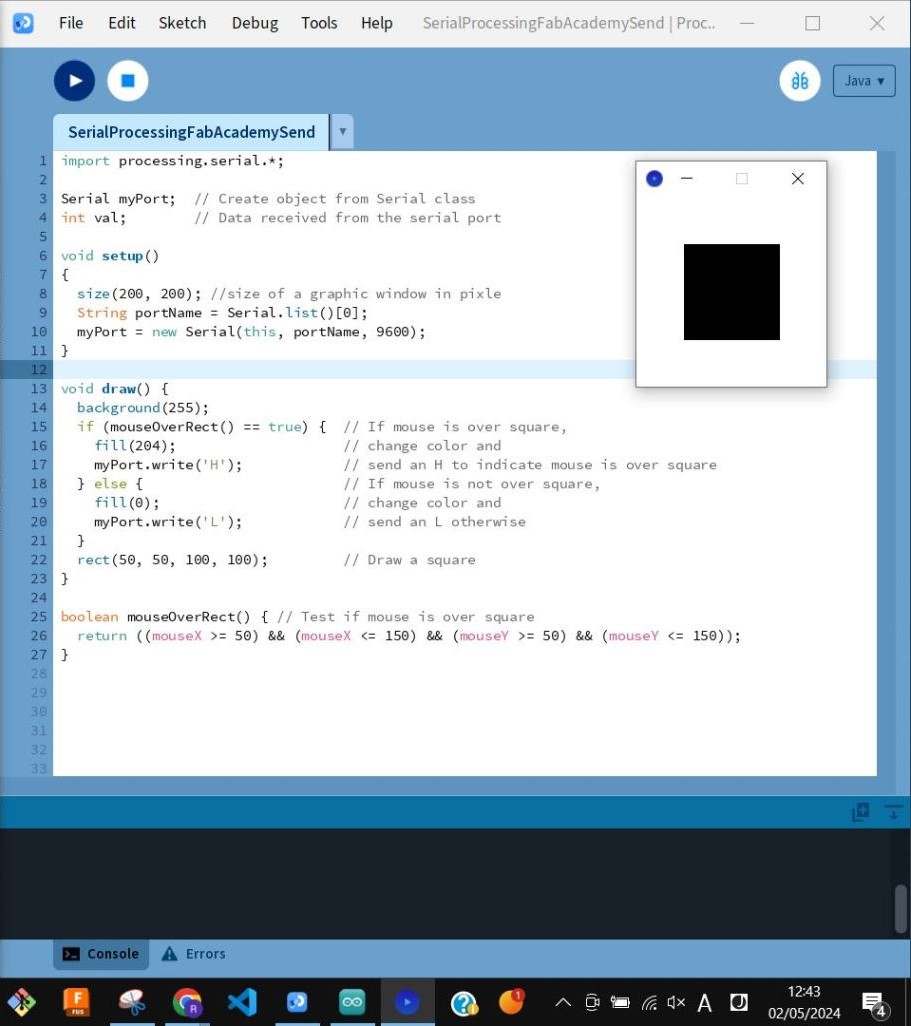
In order to do that, I first needed to import processing.serial library. Then connect to the serial port. The important thing here is that the Serial list starts from 0 and not from 1. Since I am only using one serial port I put 0.
In the void draw, is where all the graphical interface is drawn. I made a black rectangle that turns grey when the mouse hovers on top of it. Also, I added a function to send H and L through serial.
At the end of the code, I add a boolean mouseOverRect function to keep checking if the mouse is over the square or not.
Arduino IDE Blink
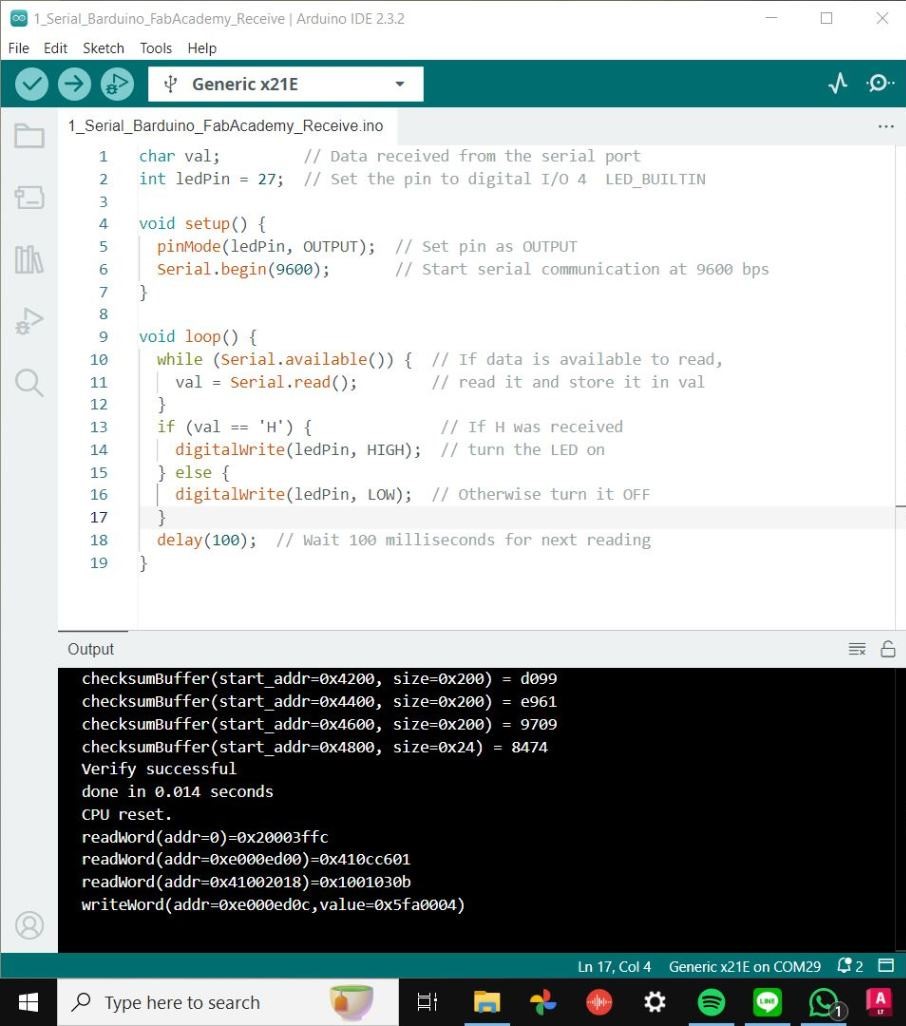
On the Arduino IDE side, it is fairly simple. I used a simple blink code as a base and modified it to connect to processing. The important thing here is I open the same serial port with the same baud rate as the Processing code.
Then in the loop, I am saying while the serial port is available read the serial port. This part allows the Arduino to receive values from Processing.
Then I am saying if Arduino receives a value H turn on the LED, if the value is L turn off the LED.
Finally, I was able to blink the LED by moving my mouse on and off the black square.
Files
SerialProcessingFabAcademySend.pde
Processing_SAMD21_Blink.ino
Stepper Motor Direction
Next, I tried to use the same graphic interface and control the stepper motor.
I used a code for controlling the stepper motor that I made in Week 9 Output device and tried to combine with the previous Blink code.
The main modification was the serial port setup. I kept the serial port set up the same as the previous one and modified the rest of the code for controlling the direction of the stepper motor.
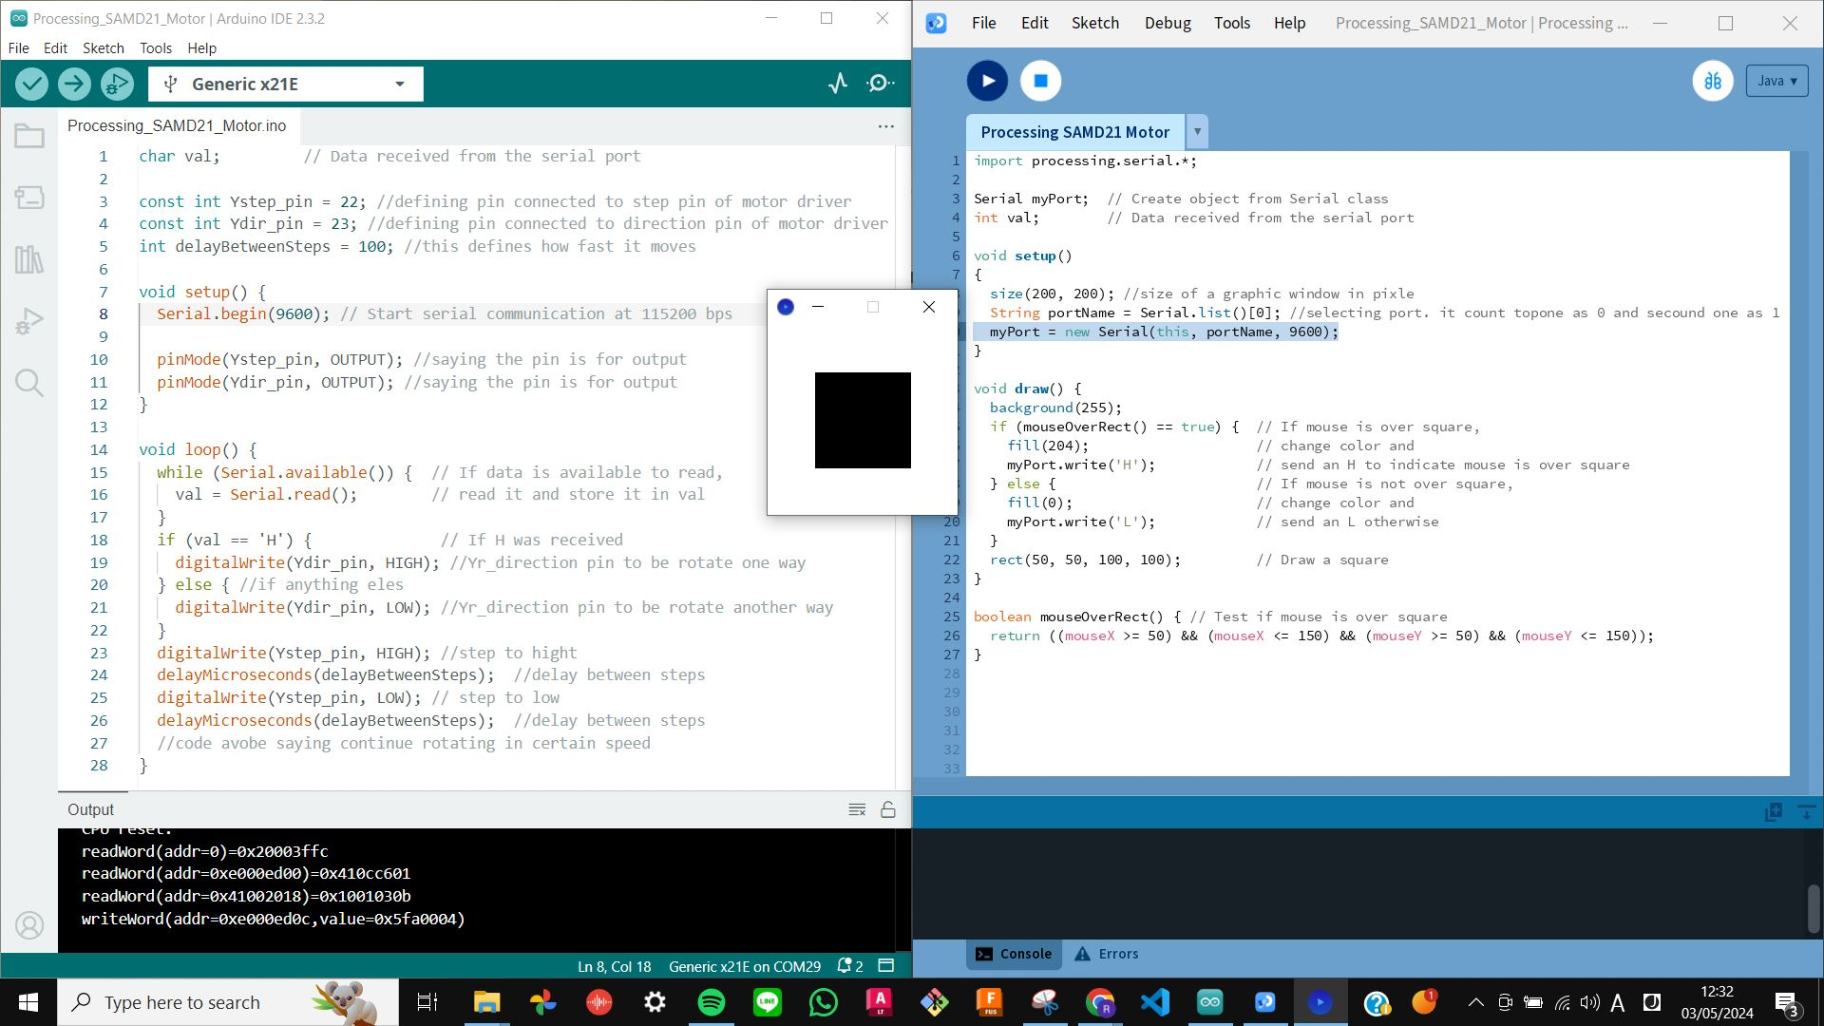
As a result, I was able to change the direction of the stepper motor through the graphical interface. I was surprised to see how quick the response was and I definitely see the potential of developing a more complex and amazing graphic interface to control more things. However I would continue with my final project development, and I hope to come back to this interface and application in the future.
FilesSerialProcessingFabAcademySend.pde
Processing_SAMD21_Blink.ino
Modify the processing code
Next, I modified the processing code little bit more to gain more understanding. Instead of a square, I made two circles with 200 diameters located next to each other
ellipse(width/4, height/2, 200, 200)
ellipse(width/4*3, height/2, 200,200)
Then I defined mouse over area by
boolean mouseOverCircle_L() {
float d = dist(mouseX, mouseY, width/4, height/2);
return d < 100;
}
boolean mouseOverCircle_R() {
float d = dist(mouseX, mouseY, width/4*3, height/2);
return d < 100;
}
I took Mahe’s documentation as a reference
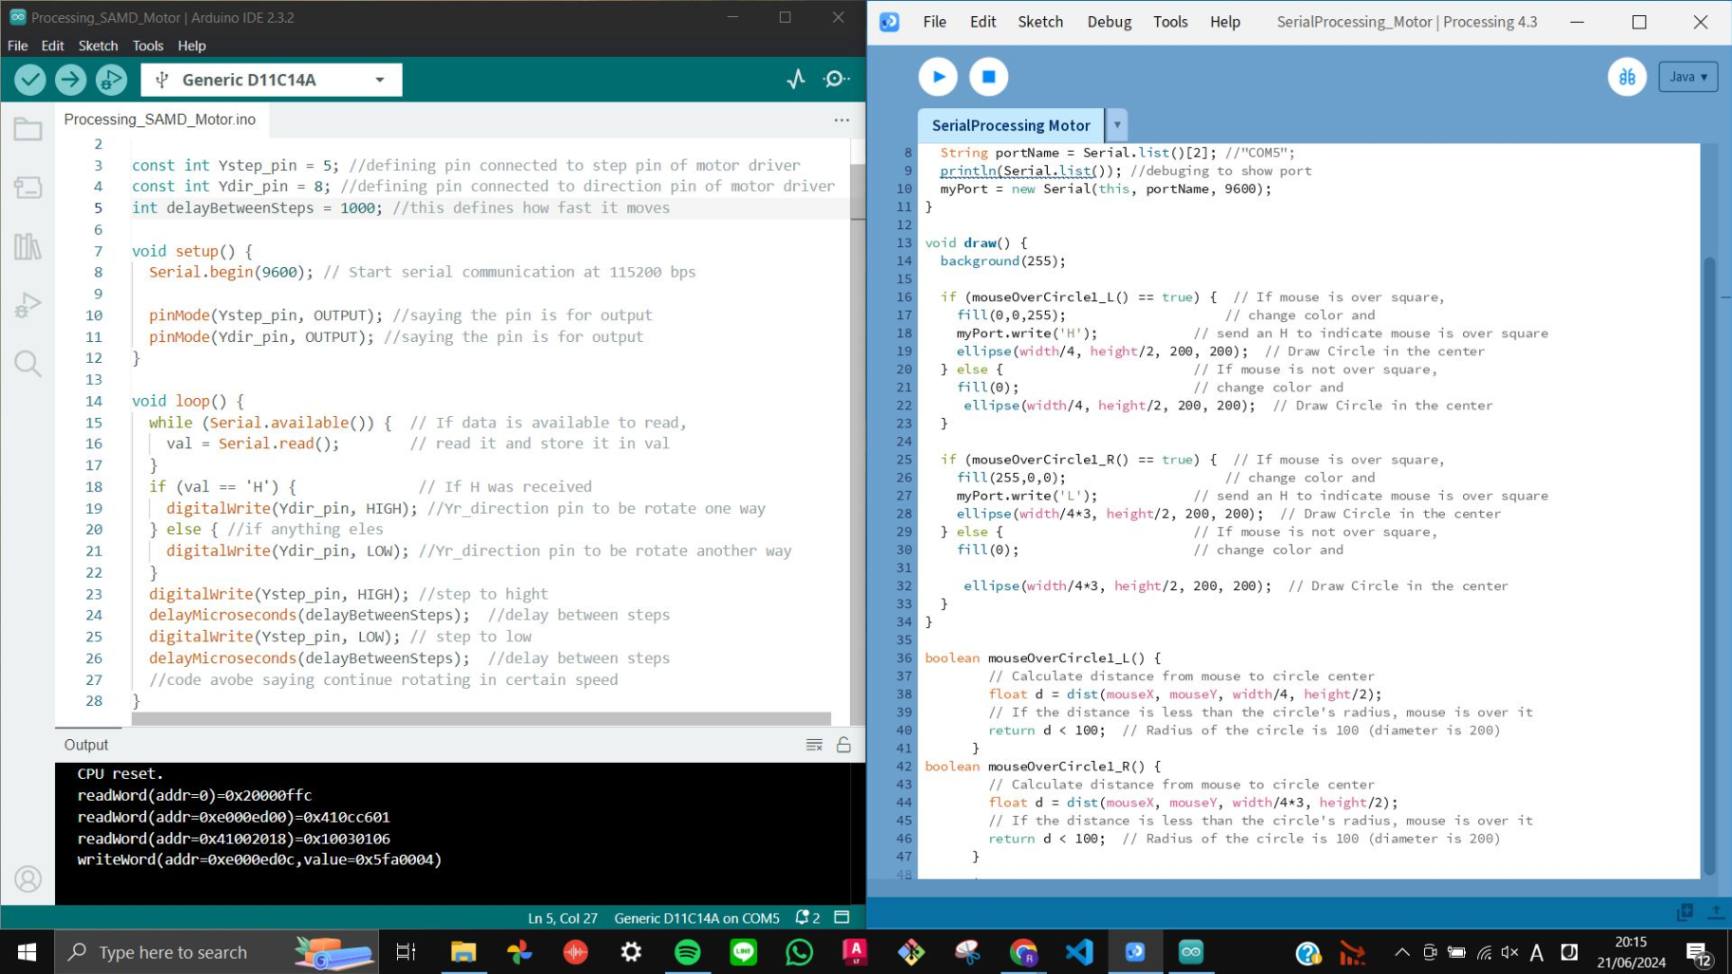
Then I made each circle to change the colour when the mouse is over it. Since I had to circle I needed to make two if statements otherwise the circles show the same colour at the same time.
It is important to note that the drawing under the fill () will be filled, so only put the drawing that I want to change the colour and separate the other drawings.
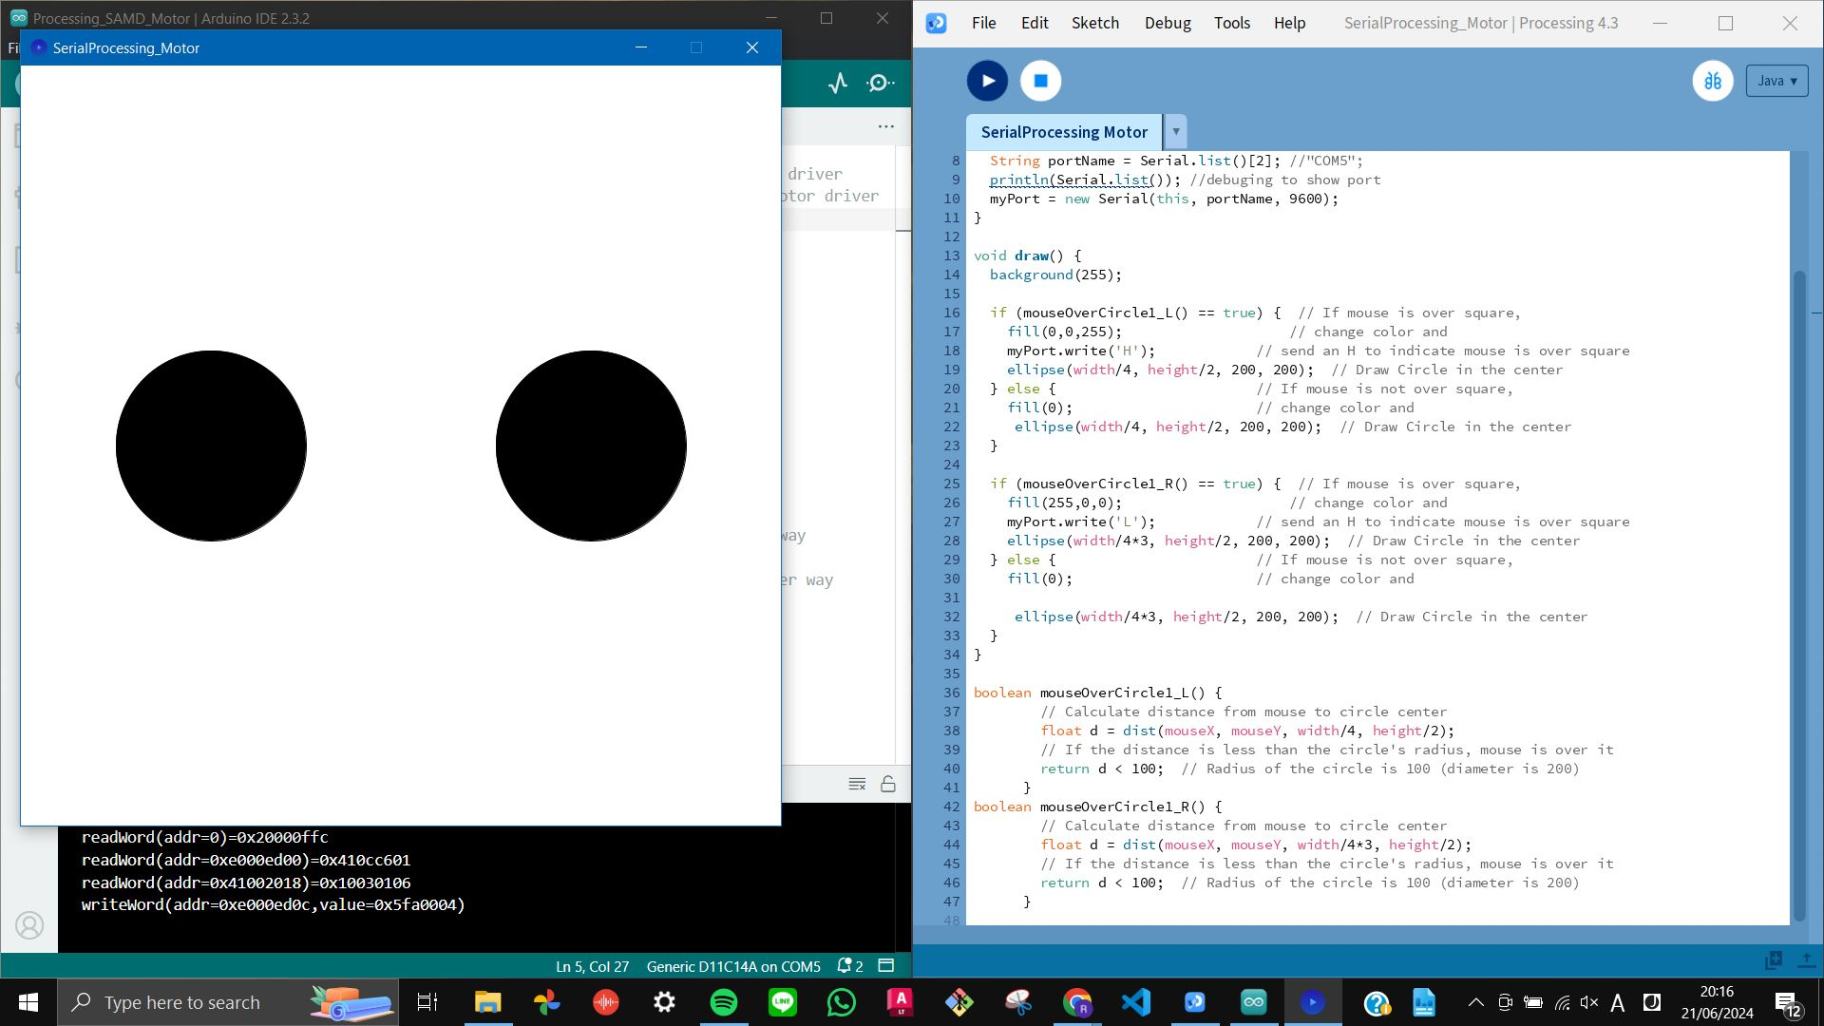
As a result, I was able to change the direction of the motor with two circles that send right or left through serial communication.
Processing_Arduino_SAMD11_Motor.txtSerialProcessing_SAMD11_Motor.txt
Video(.mp4)
W14_Processing Stepper Motor Direction_FA2024RY_compress.mp4